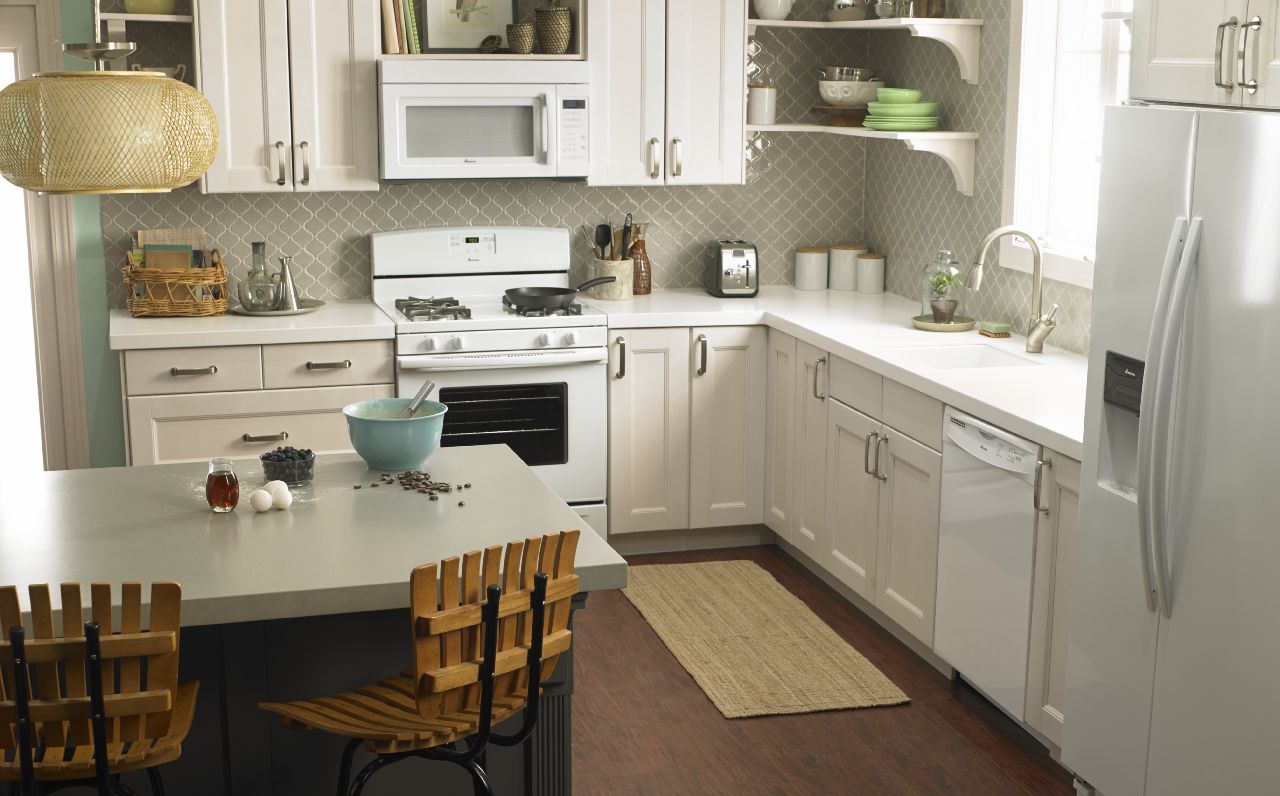
Your oven is a central hub in your kitchen, where culinary adventures take flight. Yet, when the digital clock goes dark, a sense of disarray can settle in. Fear not! Restoring your oven’s timekeeper is within reach with the right know-how. This article delves into the realm of digital clock repair, empowering you with the tools to restore your appliance’s temporal function.

Image: www.dreamstime.com
Understanding Digital Oven Clocks: A Journey into the Electronic Heart
Digital oven clocks, the modern masters of time, rely on electronic circuitry to display and maintain the correct time. These circuits are powered by electricity, flowing through wires and components to keep the clock ticking. However, a disruption in this flow—caused by loose connections, faulty components, or power outages—can render your clock a useless ornament.
Troubleshooting the Dark Digital Clock: A Diagnostic Puzzle
When your oven clock plunges into darkness, embark on a troubleshooting adventure to pinpoint the culprit.
-
Check Power: Ensure that your oven is receiving power by checking the circuit breaker or fuse box. If the oven isn’t powered, it’s impossible for the clock to function.
-
Inspect Wiring: Next, inspect the wiring both inside and outside the oven. Look for any loose or disconnected wires, particularly around the clock display. Tighten or reconnect any loose wires.
-
Clean the Clock Display: Over time, the clock display can accumulate grease or dirt, interfering with the visibility of the numbers. Clean the display with a soft cloth and a mild cleaning solution.
-
Test the Clock Socket: The clock display may connect to the oven’s main control board via a socket. Disconnect the clock display and clean the socket contacts with rubbing alcohol. Ensure the display is securely reconnected.
Replacing the Digital Clock: A New Era of Timekeeping
If troubleshooting fails to revive your oven clock, replacing it may be necessary. Here’s a step-by-step guide:
-
Gather Tools and Parts: Before you begin, gather the necessary tools, including a screwdriver, pliers, and a new clock display compatible with your oven.
-
Disconnect Power: Safety first! Unplug your oven or turn off the power at the circuit breaker.
-
Remove the Clock Display: Depending on your oven model, the clock display may be held in place by screws or clips. Locate the screws or clips and carefully remove the display.
-
Disconnect Wiring: Disconnect the wiring from the clock display. Take note of the wire connections so you can reconnect them correctly.
-
Install the New Display: Insert the new clock display into the oven, aligning it with the mounting screws or clips. Secure the display in place.

Image: authorizedco.com
Seeking Professional Help: When to Call an Expert
While most digital clock repairs are within the grasp of a determined DIYer, there may be instances when professional help is advisable. If your oven is still under warranty or if you encounter complex electrical issues beyond your expertise, calling an authorized repair technician is the wisest course of action. Remember, safety should always take precedence.
How To Fix Digital Clock On Oven
Conclusion: Reclaiming Time’s Domain in Your Kitchen
With the knowledge and tools provided in this article, you can conquer the challenge of digital oven clock repair and reclaim the timekeeper in your culinary command center. Restore your oven to its rightful place as a timekeeping maestro, ensuring that your culinary adventures run like clockwork. And remember, if professional assistance is needed, don’t hesitate to seek it for a swift and reliable solution. May your oven’s digital clock continue to illuminate your culinary journeys with unwavering precision!