Introduction
It might be unsettling to see a significant hole in the exterior surface of your cherished house. Water damage, severe weather, or other sudden accidents can all lead to this. Whatever the cause, keeping the situation under control is essential to avoid further harm and guarantee the safety and security of your property. We’ll walk you through the precise procedures required to fix a large hole in your exterior wall in this detailed guide to help you regain peace of mind and shield your residence from the elements.
Materials You’ll Need:
- Safety gear (gloves, goggles, respirator)
- Hammer or crowbar
- Utility knife
- Caulk gun
- Exterior caulk
- Backer rod (optional)
- Patch or plywood
- Exterior-grade screws or nails
- Drill or nail gun
- Sandpaper
- Primer
- Exterior paint
Step 1: Safety First
When starting any home repair project, putting your safety first should always come first. Put on safety glasses, gloves, and a mask to guard against dust, splinters, or falling debris. Keep the work area clear of obstacles, and take breaks as necessary to keep your energy levels up and your focus sharp.

Image: besthomish.com
Step 2: Assess the Damage
Once you are protected, it is time to analyze the scope of the damage. Use a hammer or crowbar to gently remove any loose or damaged material around the hole’s edges, exposing the full extent of the issue. If the damage is confined to the siding or a specific section of the wall, the repair will be easier. However, if the underlying structure has been affected, you may need to contact a professional for further assistance.
Step 3: Prepare the Hole
Using a utility knife, carefully cut away any ragged or loose edges around the hole to provide a clean and solid surface to work on. This will facilitate a proper seal and ensure a long-lasting repair. If the hole is large or has an irregular shape, you may consider using backer rod to fill in the gaps and provide support for the patch.
Step 4: Install the Patch
Cut a piece of plywood or patch material to the exact size of the hole. Position the patch over the hole, ensuring it fits snugly and covers the entire damaged area. Secure the patch using exterior-grade screws or nails, spacing them evenly around the perimeter. Countersink the screws or nails slightly below the surface of the patch to create a smooth finish.
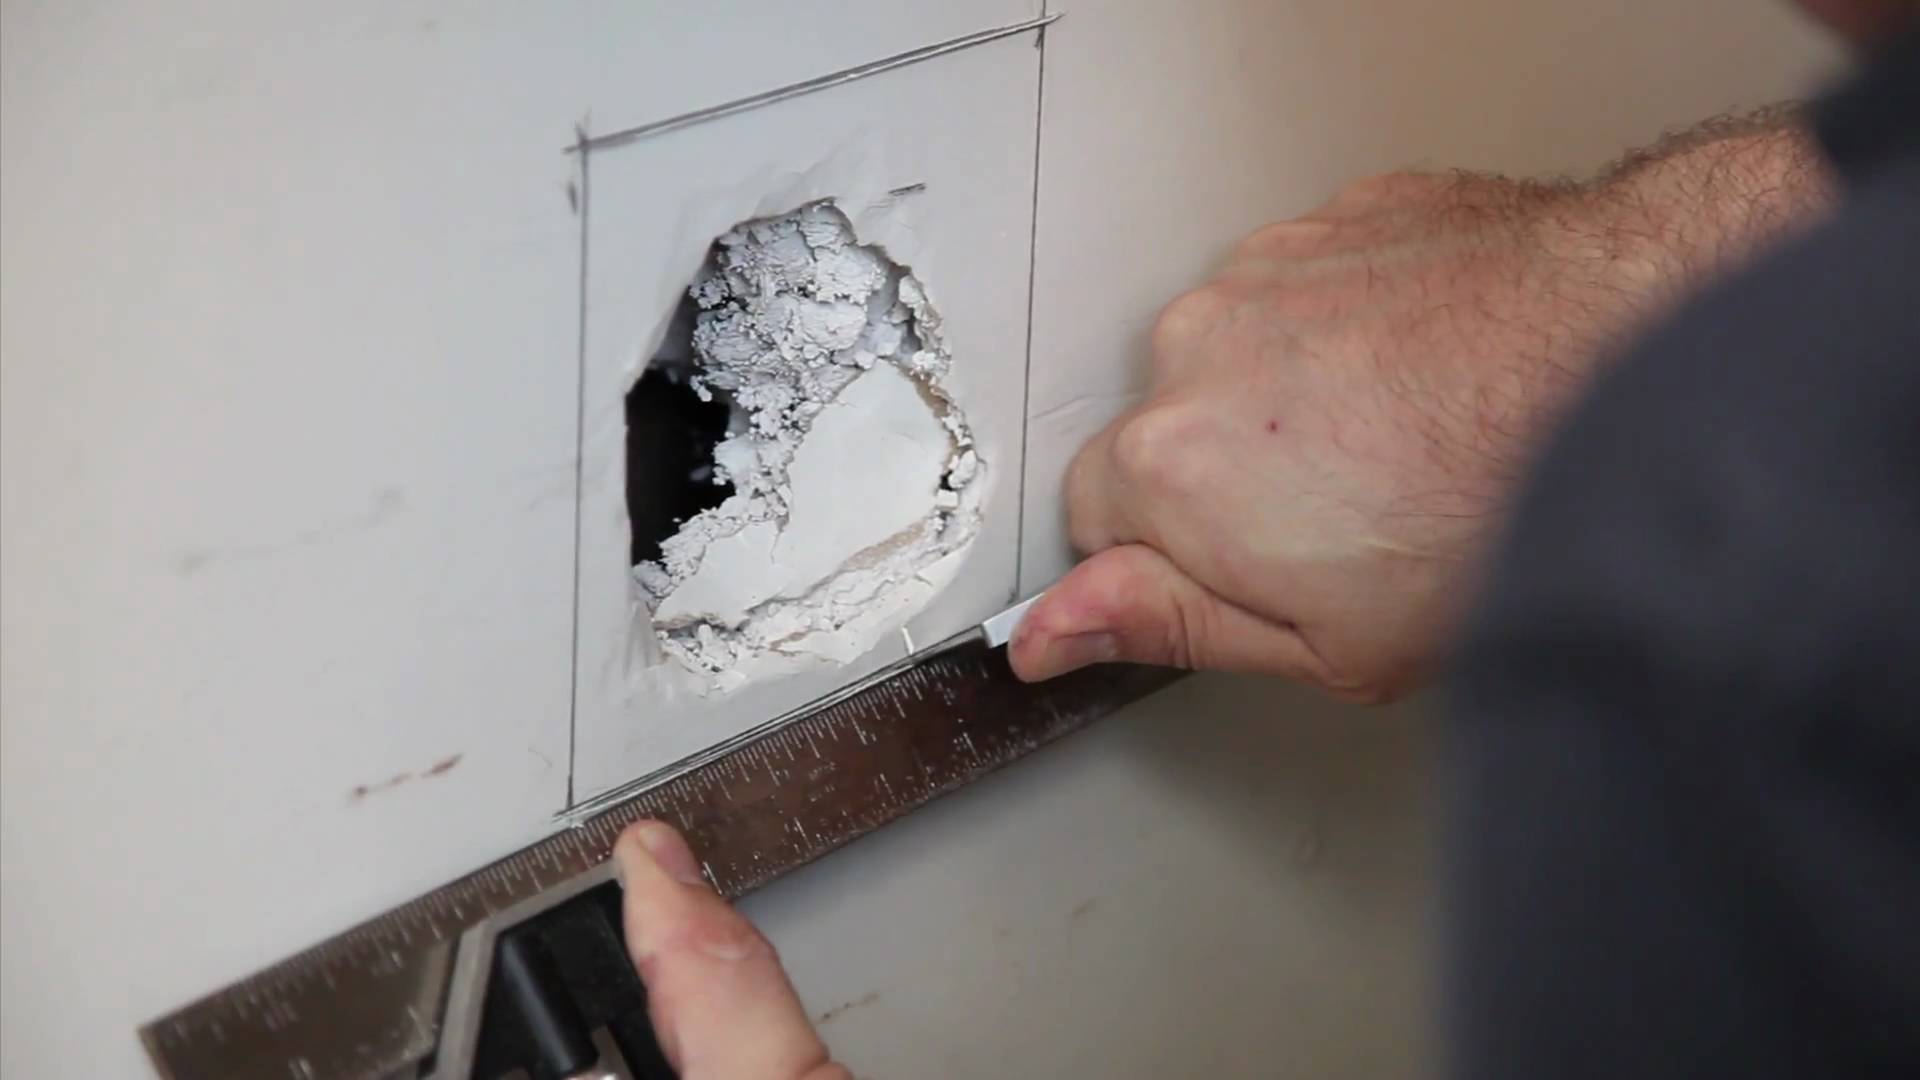
Image: ezhangdoor.com
Step 5: Seal the Joints
To prevent water from seeping through the repaired area, apply a generous bead of exterior-grade caulk around the edges of the patch, where it meets the surrounding siding or wall surface. Use a caulk gun to ensure even and consistent application. Smooth out the caulk using your finger or a damp cloth, creating a weather-tight seal.
Step 6: Finishing Touches
To complete the repair, sand the patched area lightly to remove any burrs or rough edges. This will create a smooth, professional-looking finish. Apply a coat of primer to the patched area and the surrounding siding to prepare the surface for painting. Once the primer has dried, apply a coat of exterior paint that matches the color of your siding. Allow the paint to dry completely before exposing the repaired area to the elements.
How To Fix Large Hole In Exterior Wall
Conclusion
Repairing a large hole in your exterior wall requires careful planning and precise execution to ensure a long-lasting and weatherproof fix. By following the steps outlined in this comprehensive guide, you can tackle this project confidently, restoring the structural integrity and aesthetic appeal of your home. Remember to prioritize safety, assess the damage thoroughly, and seal the joints effectively to prevent any future problems. With patience, attention to detail, and the right materials, you can restore your exterior wall to its former glory, securing your home against the elements and giving you peace of mind.