Get the latest information about How To Clean A Weed Grinder With Hot Water in this article, hopefully providing better understanding for you.
How to Deep Clean a Weed Grinder with Hot Water: A Comprehensive Guide
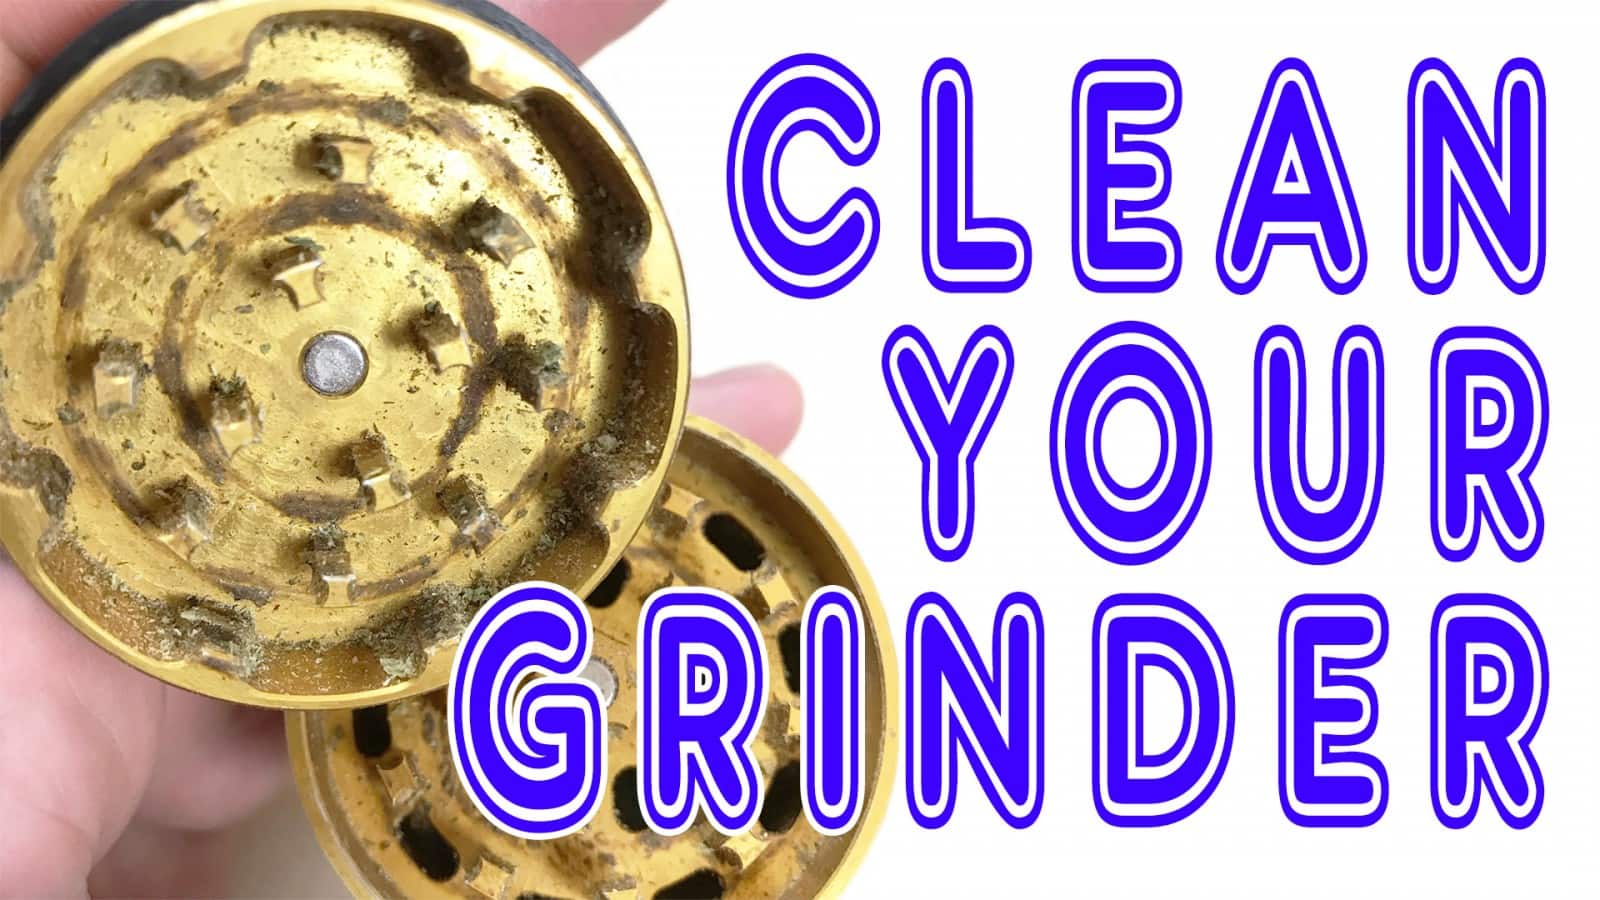
I’ve been in the thrilling world of cannabis cultivation for years, and among my prized possessions is a trusty weed grinder. Over time, even the most meticulously cared-for grinders accumulate stubborn resin and herb particles, diminishing their grinding efficiency and hygiene. To restore my grinder to its former glory, I stumbled upon a simple yet effective cleaning method involving hot water.
My journey to a sparkling clean grinder commenced with gathering the necessary tools: a sturdy pair of tongs, a pot of boiling water, and a few cotton swabs or pipe cleaners. With anticipation, I proceeded to dismantle my grinder, separating its components carefully to avoid damaging its delicate teeth.
Submerging in Hot Water: A Baptism of Cleanliness
The centerpiece of this cleaning ritual was the immersion of the grinder’s components into a pot of vigorously boiling water. Using tongs to prevent scalding, I submerged the grinder’s parts for a duration of 10-15 minutes, allowing the hot water to penetrate deep into every crevice. This process effectively dissolved the hardened resin and loosened stubborn herb particles, breaking down the grime.
Once the components had soaked sufficiently, I carefully retrieved them from the scalding water and placed them on a paper towel-lined surface to cool. As the components dried, I noticed the remarkable transformation: the once-caked resin had dissolved, and the herb particles had loosened their grip, leaving behind a pristine grinder ready for action.
A Deeper Dive into the Process: A Step-by-Step Guide
For those seeking a more detailed approach, here’s a step-by-step guide to deep cleaning your weed grinder with hot water:
- Disassemble the Grinder: Detach all components of your grinder, taking care not to damage the delicate teeth.
- Boil Water: Fill a pot with water and bring it to a rolling boil.
- Submerge the Components: Using tongs, carefully submerge the grinder’s components into the boiling water and allow them to soak for 10-15 minutes.
- Retrieve and Dry: Once soaked, retrieve the components from the water using tongs and place them on a paper towel-lined surface to cool and dry.
- Remove Residual Debris: Use a cotton swab or pipe cleaner to gently remove any remaining debris from the grinder’s teeth and other hard-to-reach areas.
The Latest Buzz: Exploring Innovations in Grinder Cleaning
The world of grinder cleaning is constantly evolving, with new techniques and products emerging to make the process even more efficient. Here are a few notable trends:
- Ultrasonic Cleaners: These specialized devices use high-frequency sound waves to create microscopic vibrations that penetrate deep into grinder components, dislodging stubborn grime.
- Cleaning Solutions: Formulated specifically for grinder cleaning, these solutions contain enzymes and detergents that break down resin and herb particles, making the cleaning process even more effective.
- Self-Cleaning Grinders: Some innovative grinder designs incorporate self-cleaning mechanisms, making regular maintenance a breeze.
Expert Tips and Tricks: Tips from the Pros
In addition to the hot water method, I’ve compiled a few additional tips and tricks from experienced cannabis enthusiasts to enhance your grinder cleaning routine:
- Regular Cleaning: Establish a regular cleaning schedule to prevent excessive buildup.
- Avoid Abrasive Cleaners: Harsh chemicals and abrasive materials can damage the grinder’s surface and teeth.
- Consider Isopropyl Alcohol: For tough resin buildup, use isopropyl alcohol swabs cautiously, as they may dissolve paint or finishes.
- Lubricate Sparingly: If desired, apply a small amount of food-grade lubricant to the grinder’s threads to ensure smooth operation.
- Dry Thoroughly: Allow the grinder to dry completely before reassembling to prevent rust and mold.
Frequently Asked Questions: Unraveling the Mysteries of Grinder Cleaning
To address common inquiries regarding grinder cleaning, here’s a section dedicated to frequently asked questions:
- How often should I clean my grinder?
Frequency depends on usage. Heavy users may need to clean monthly, while occasional users may clean every 3-6 months. - Can I use dish soap to clean my grinder?
Avoid using dish soap, as it can leave a residue. - Is it safe to put my grinder in the dishwasher?
Not recommended, as it may damage the grinder’s finish or teeth. - What’s the best way to clean a wooden grinder?
Gently wipe with a damp cloth and avoid soaking, as wood can absorb moisture. - Is it necessary to lubricate my grinder after cleaning?
Lubrication is optional but can improve smoothness.
Conclusion: A Clean Grinder for a Happy Grind
Mastering the art of cleaning your weed grinder with hot water and the tips provided will ensure a pristine and efficient tool for your cannabis grinding endeavors. Remember, a clean grinder not only enhances the grinding experience but also promotes hygiene and longevity. So, the next time your grinder calls for some TLC, consider giving it a hot water bath to restore its former glory.
Are you ready to embark on your grinder cleaning journey? Share your grinder cleaning tips and experiences in the comments below!

Image: weedmaps.com
We express our gratitude for your visit to our site and for reading How To Clean A Weed Grinder With Hot Water. We hope this article is beneficial for you.