Cracks between walls and ceilings can be an eyesore, but they can also signify structural issues that need attention. Whether it’s a hairline fracture or a gaping chasm, understanding the why and how of crack repair can help you address the problem effectively.

Image: myhomedwelling.com
In this article, we’ll delve into the causes of wall and ceiling cracks and guide you through a step-by-step process to repair them. From identifying the crack type to filling and sealing it securely, we’ll equip you with the knowledge and confidence to restore your walls and ceilings to their pristine condition.
The Genesis of Cracks: Understanding the Root Causes
Before we jump into the repair process, it’s crucial to understand what causes cracks in the first place. These fissures can result from various factors, including:
- Foundation movement: Shifting foundations due to soil settling or changes in water levels can cause walls and ceilings to crack.
- Structural defects: Weaknesses in the building’s design or construction can create cracks that may worsen over time.
- Temperature fluctuations: Extreme temperature changes can cause materials to expand and contract, leading to cracks.
- Water damage: Leaks or moisture penetration can weaken walls and ceilings, making them susceptible to cracking.
- Poor workmanship: Improper installation or insufficient drying during construction can also result in cracks.
Understanding the cause of the crack is essential for determining the appropriate repair method. If the underlying structural issue is not addressed, the crack may continue to reappear or worsen.
Step-by-Step Guide to Crack Repair: From Assessment to Sealing
Now that we’ve covered the causes of cracks, let’s dive into the practical steps for repairing them:
1. Assess the Crack: Identify the type of crack you’re dealing with. Hairline cracks (less than 1/16 inch wide) are generally cosmetic and can be repaired with simple fillers. Wider cracks require more attention.
2. Prepare the Crack: Clean the crack thoroughly to remove any dirt or debris. For wider cracks, use a utility knife to widen the V-shaped groove slightly. This allows for better adhesion of the repair material.
3. Apply Filler or Caulk: For hairline cracks, apply spackling paste or painter’s caulk using a putty knife or caulk gun. For wider cracks, use a patching compound or epoxy resin. Apply the material firmly, pressing it into the crack.
4. Smooth and Sand: Allow the filler to dry completely. Use fine-grit sandpaper to smooth out any rough edges and create a seamless finish. For wider cracks, apply multiple layers of material, allowing each layer to dry before sanding.
5. Prime and Paint: Apply a primer over the repaired area to create a stable surface for paint. Once the primer dries, apply matching paint to conceal the repair.
Expert Insights: Tips for Proficient Crack Repair
Consult with a qualified contractor if you’re dealing with extensive or structural cracks. Here are some valuable tips from experts:
- Inspect regularly: Monitor walls and ceilings for cracks, especially after significant weather events or home renovations.
- Address underlying issues: If you suspect the crack is due to structural problems, seek professional advice promptly.
- Use high-quality materials: Invest in durable fillers and patching compounds for long-lasting repairs.
- Allow ample drying time: Follow the manufacturer’s instructions for drying times between applying different materials.
- Practice patience: Crack repair can take some time. Allow multiple layers to dry completely for optimal results.
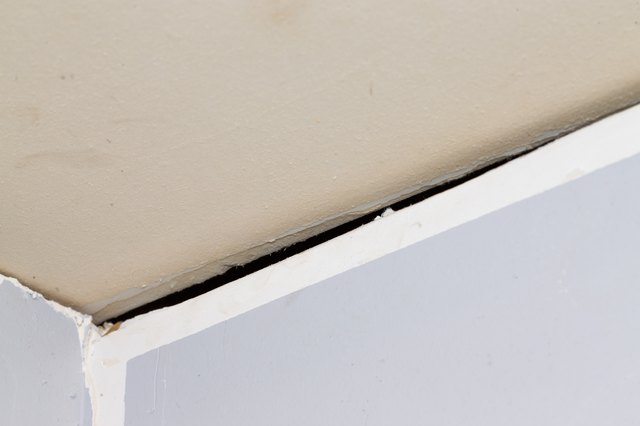
Image: www.hunker.com
How To Fix Crack Between Wall And Ceiling
Conclusion
By understanding the causes of cracks and following the step-by-step repair process, you can effectively fix those pesky fissures between walls and ceilings. Remember, timely repairs not only enhance the aesthetic appeal of your home but also prevent further structural damage.
If you encounter any doubts or complexities during the repair process, don’t hesitate to seek professional help. With the right knowledge and approach, you can restore your walls and ceilings to their original glory.